
Well, the bathroom renovation is finished. Yay! Anyone that follows my socials will have seen some of the progress, but I thought that I would take you through from the beginning to the end, so that you have an understanding of all of the steps that are involved in a bathroom renovation.
The first, and most important step is doing a bit of research. This not only includes selecting images of the look and feel that you are going for, but more importantly researching the local contractors that might be available, and collecting two or three quotes on having the work done. When you are discussing your ideas with the contractor it helps if you can use the pictures that you have collected to explain what you want. Another key thing is understanding that the quotes are often fluid as many people will make changes as the project progresses, whether that is in finishes, or fixtures, or simply because an item that you selected is no longer available. Be sure to understand the range of cost for all of the fixtures and finishes that you are selecting. Timelines also are very hard to stick with, because they are dependent upon the trades and supply chains, so try not to have in your head that this is a non-flexible parameter. This variable has definitely become more fluid since the start of the pandemic, but was sometimes an issue before as well.
Some of the things that we did not put into the bathroom in order to keep costs from skyrocketing were a steam shower or body jets (we opted for a beautiful multi-pressure rain shower head), a heated floor (as the luxury vinyl tiles that I selected have a soft, warm feel to them under foot), wall-mounted faucets, and a full frameless glass front on the shower (ours just has the upper bar for added stability, as we didn’t want the glass to go all the way to the ceiling). When looking at the project we made a list of our wants, and then prioritized these based on costs and return on investment. In the end there is nothing that we didn’t implement that we feel has compromised the overall end result.
I try not to do things that are too trending, but sometimes that is what is prevalent in the market. Take for example the mirrors. Very on trend (see photo from Rock the Block), however they can easily be changed out for a more current look when they start to feel dated.
Overall I was very happy with the end result, and know that we will have years of enjoyment of our new space.

Our original bath had all marble surfaces, with a HUGE old-style Jacuzzi tub. I loved it (it was like a small swimming pool, even though I never used the jets), but the finish had started coming off of it so we knew that it was time for a reno.
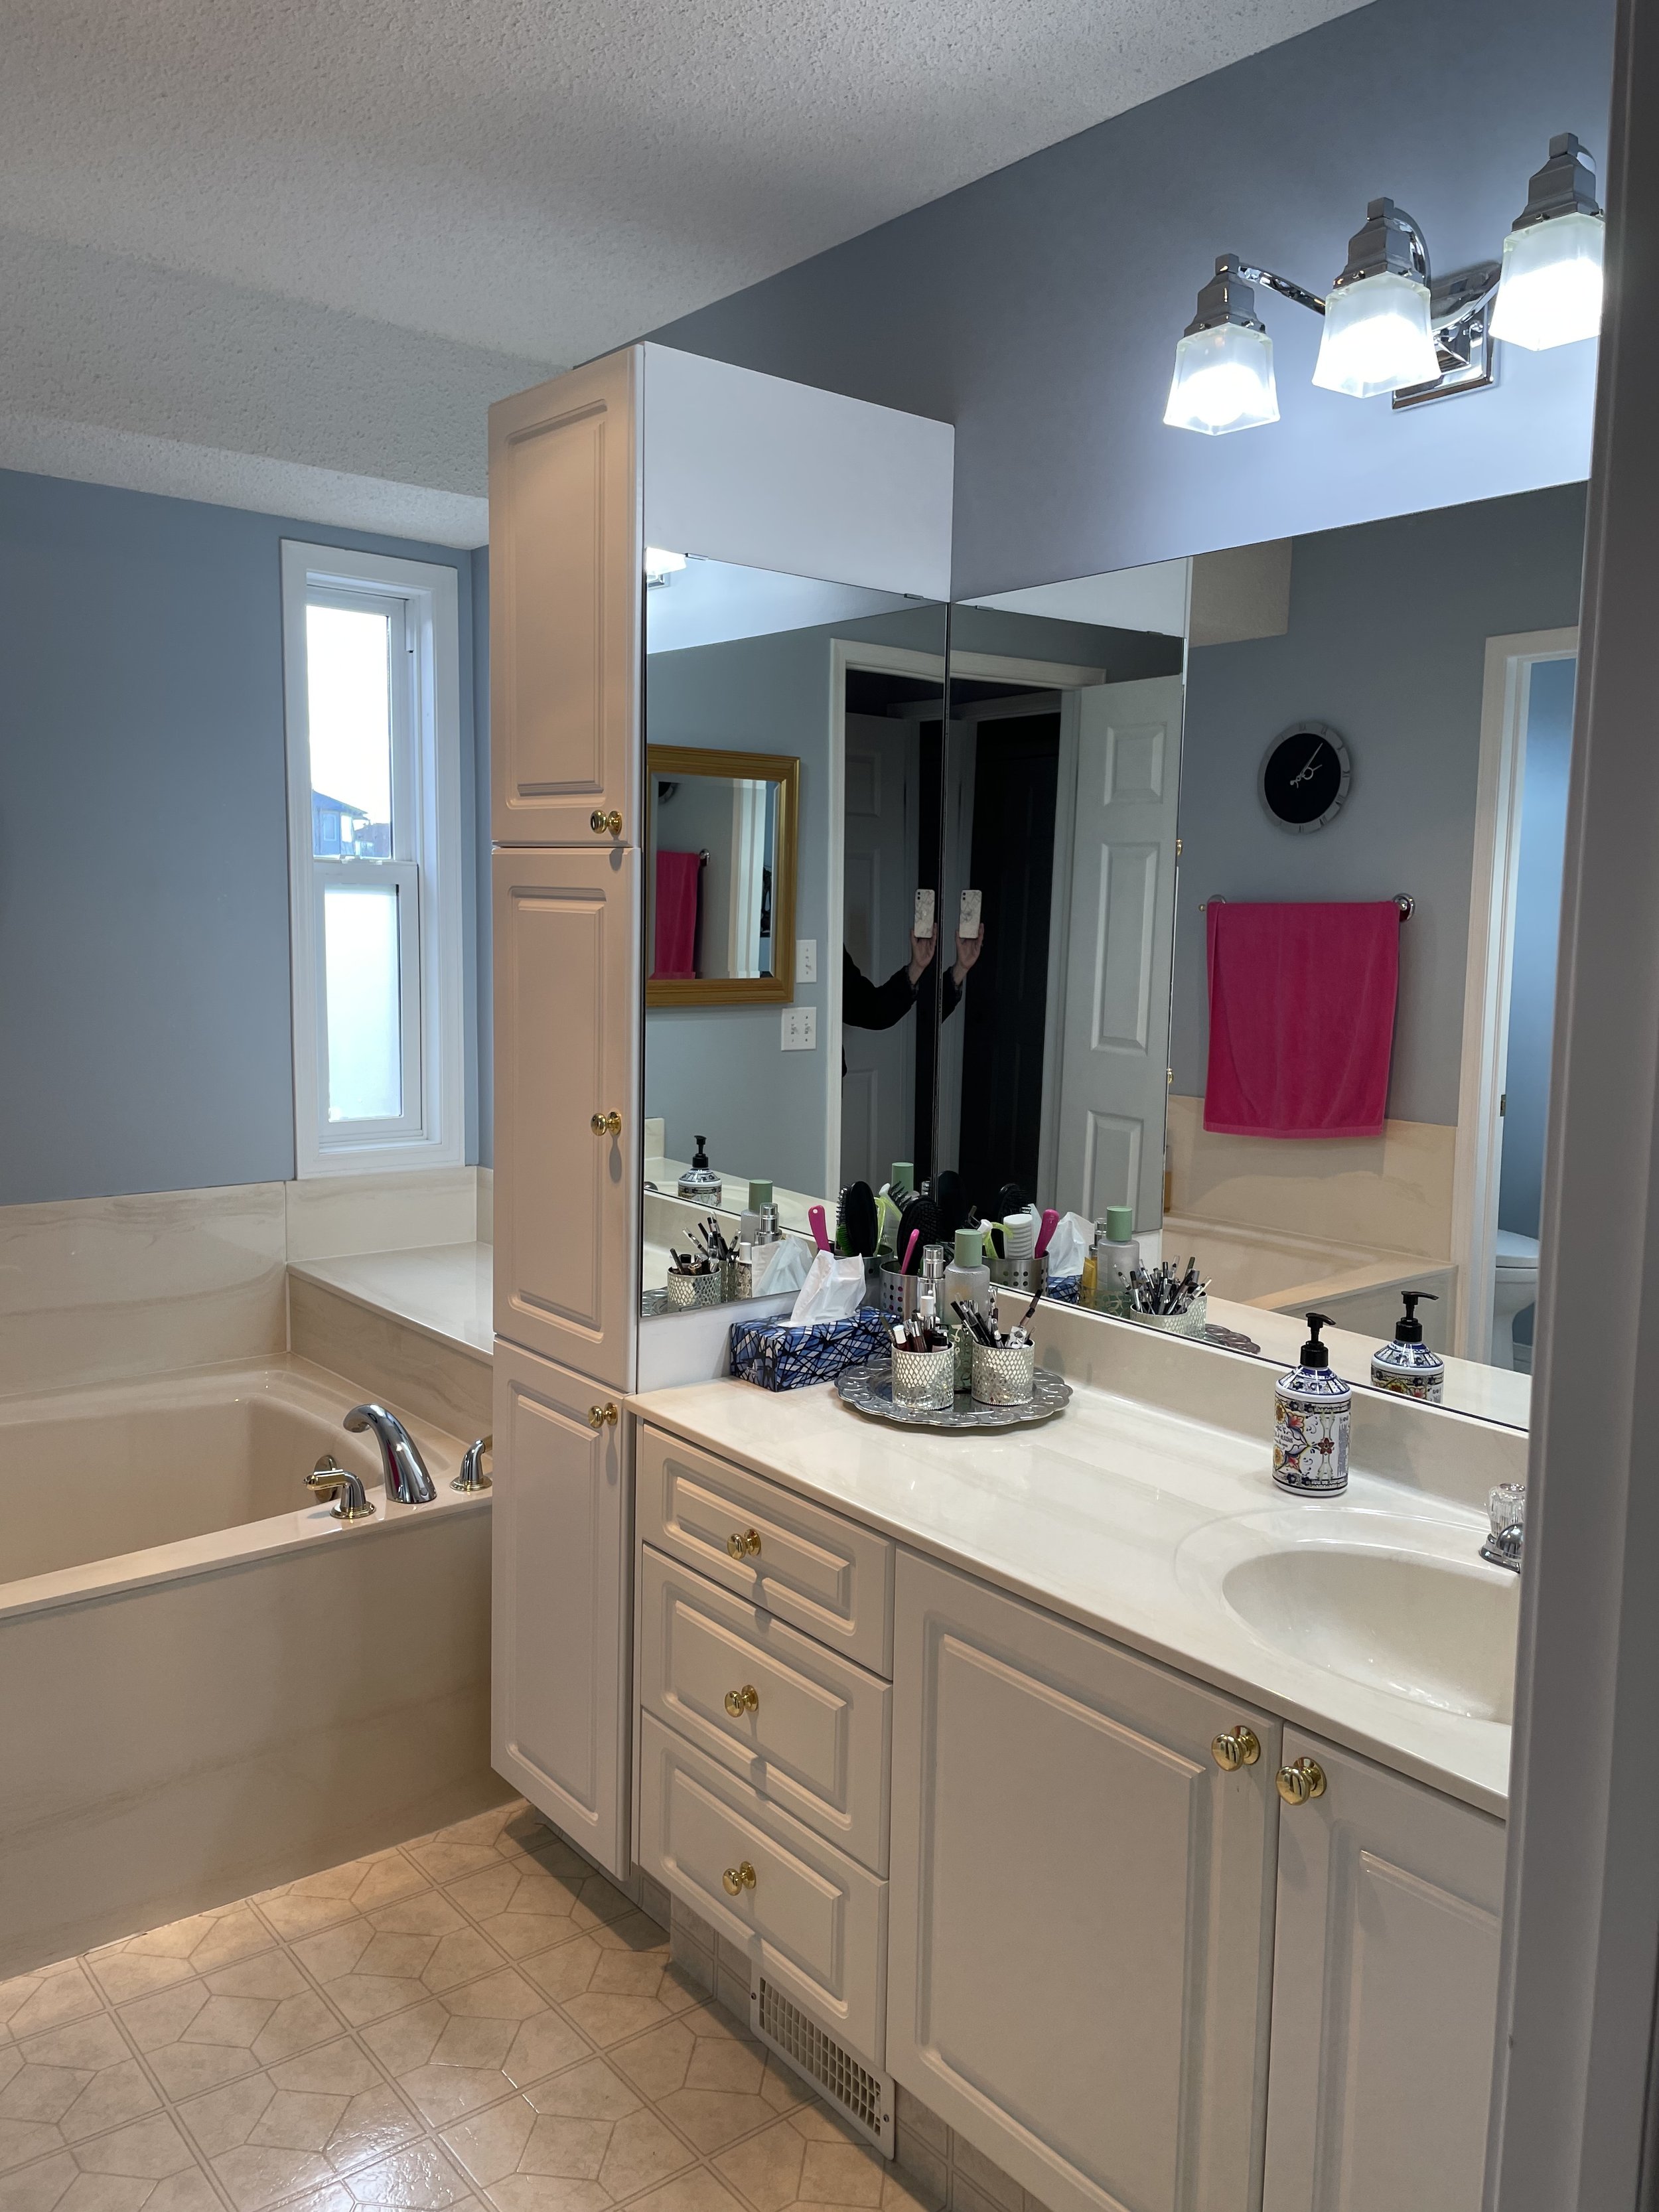
This is what we started with. The Lino was still in really good shape, but the pattern was so dated, and this along with the marble just put it back a couple of decades when it came to style.

The bathroom also had a fair amount of wasted space. This deck at the head of the tub was huge, and didn’t really serve much of a purpose, once we weren’t having a jetted tub, and the space where the tower was (this was added by the previous owner) not only wasn’t properly framed in, but the tower blocked a lot of the natural light from the window. Artwork: @jociis.

All of the metal trim was in brass, and even though brass fixtures are trending at the moment no one wants this shiny brass look.
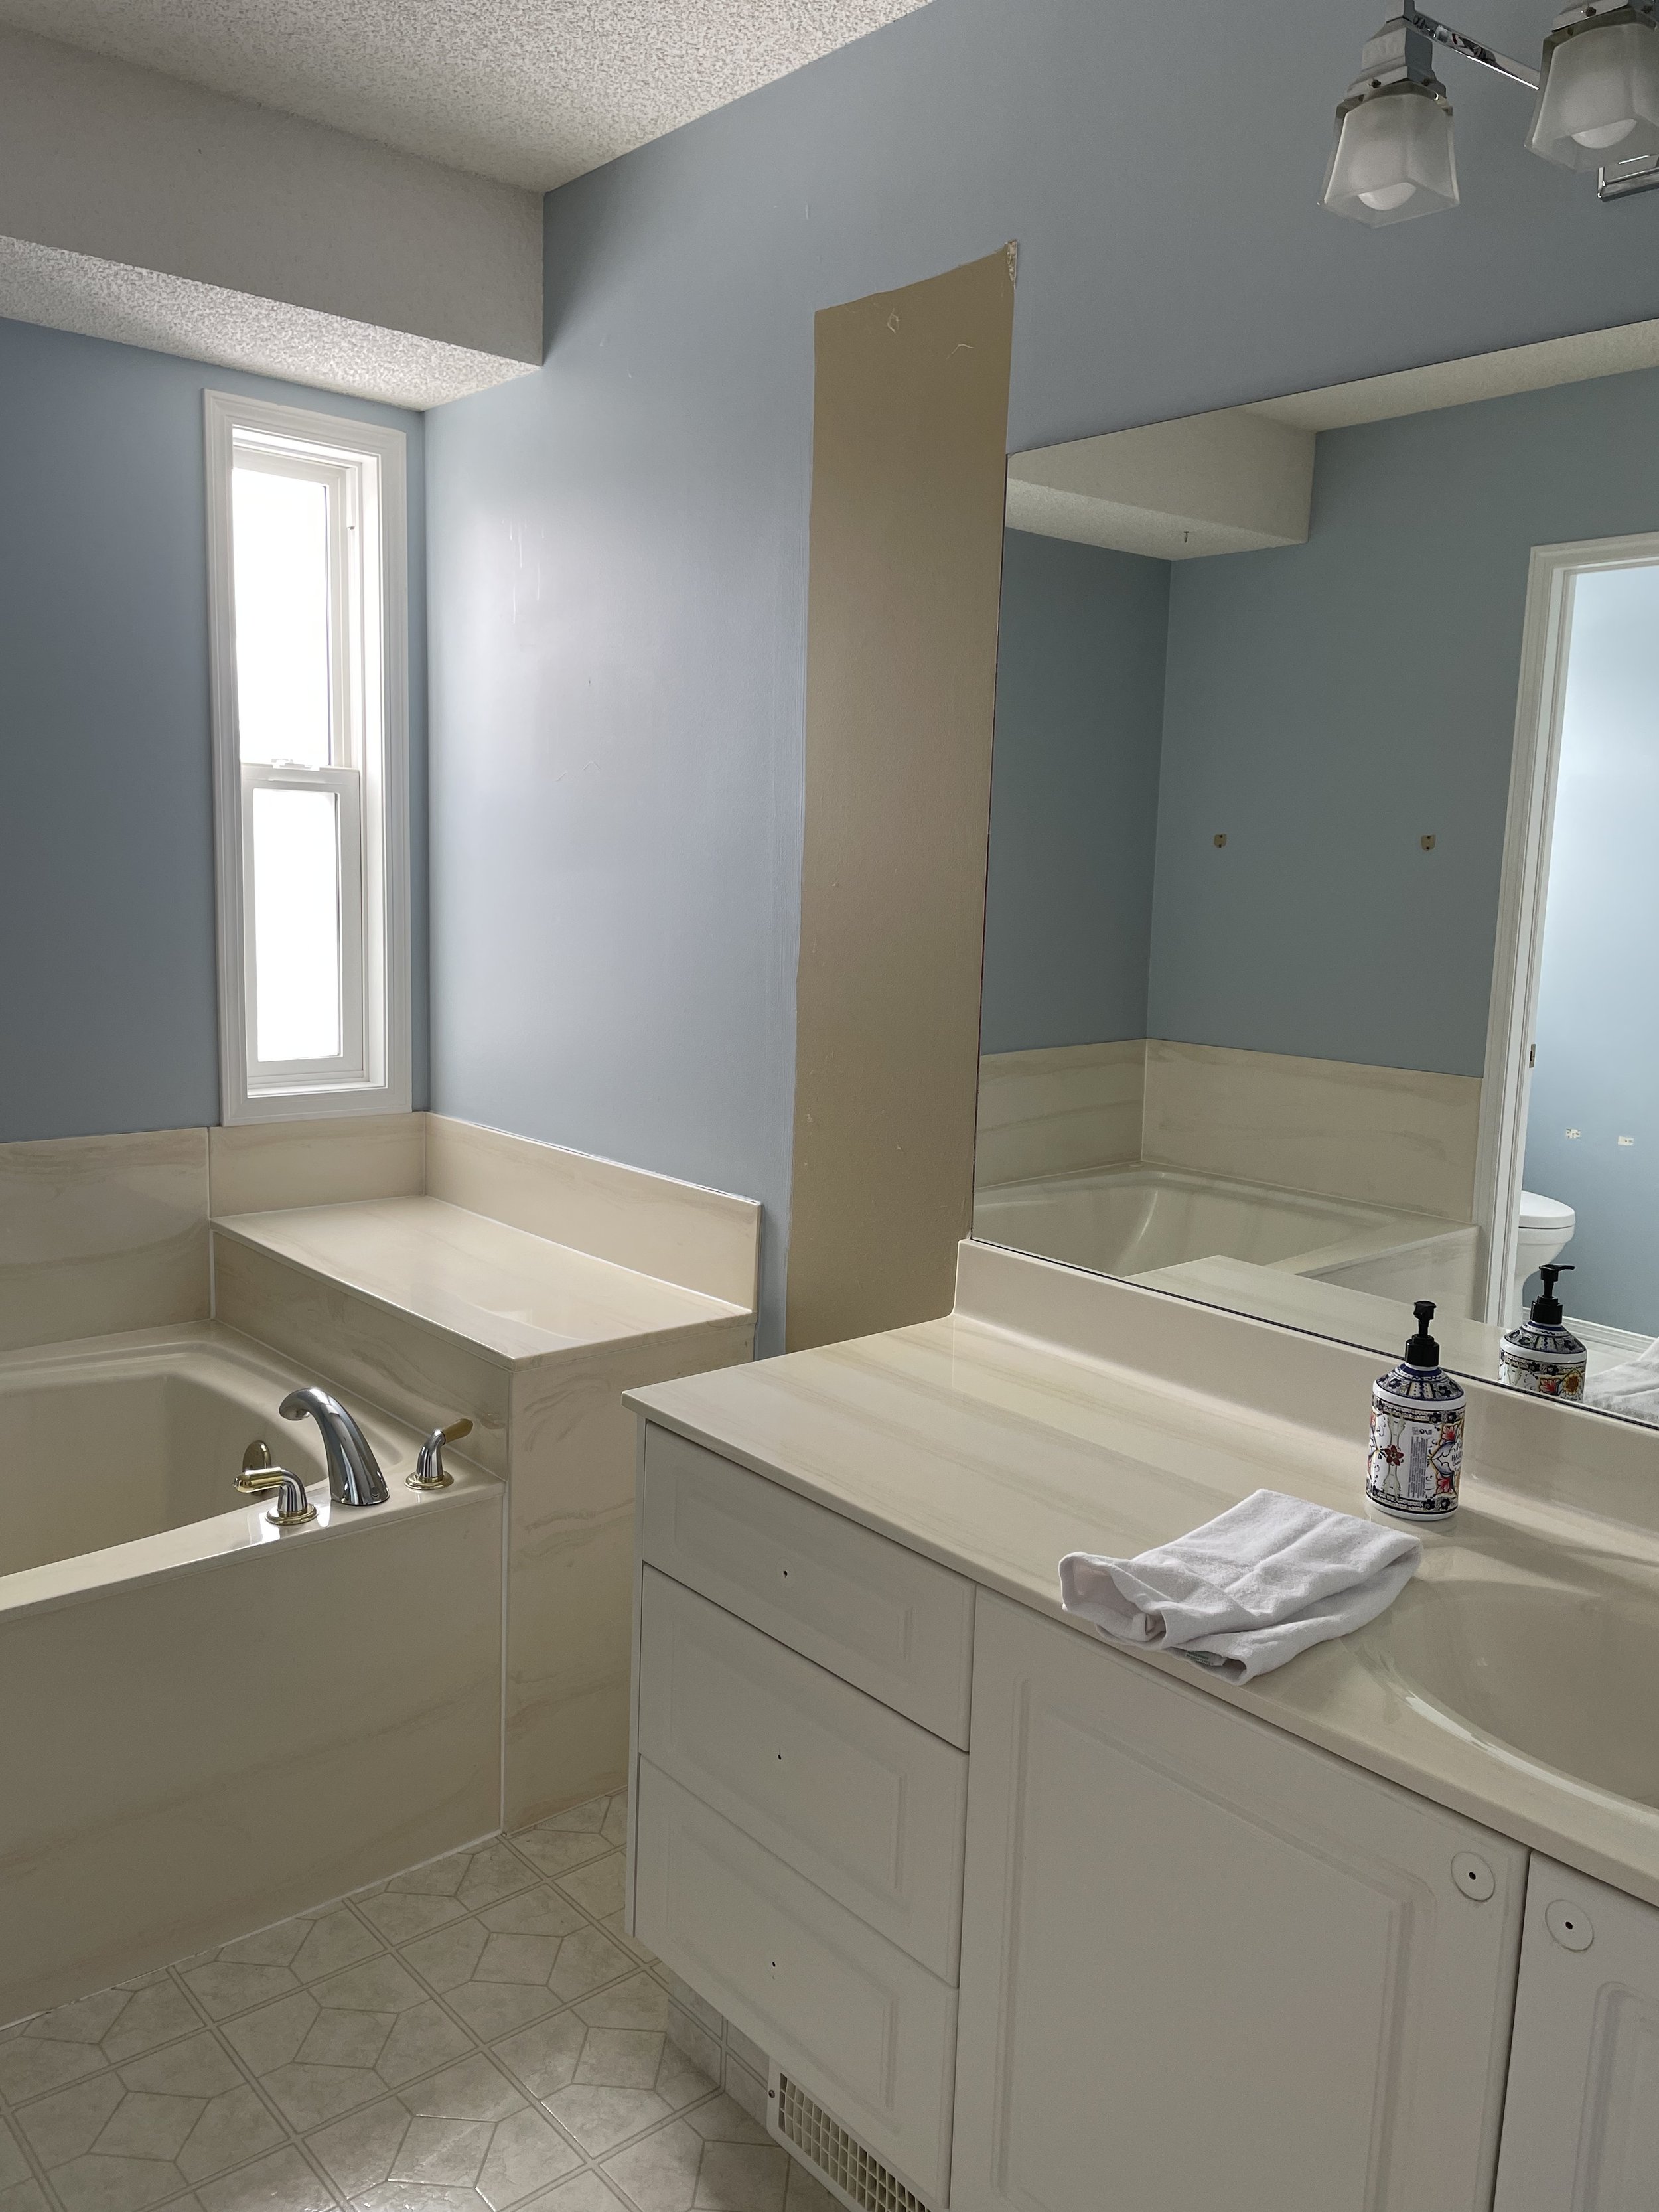
You can see how much brighter the space is, with the tower removed.

Then the demo begins. Our only disappointment was that we couldn’t remove the bulkhead, but I worked around it and was happy with the outcome, overall.
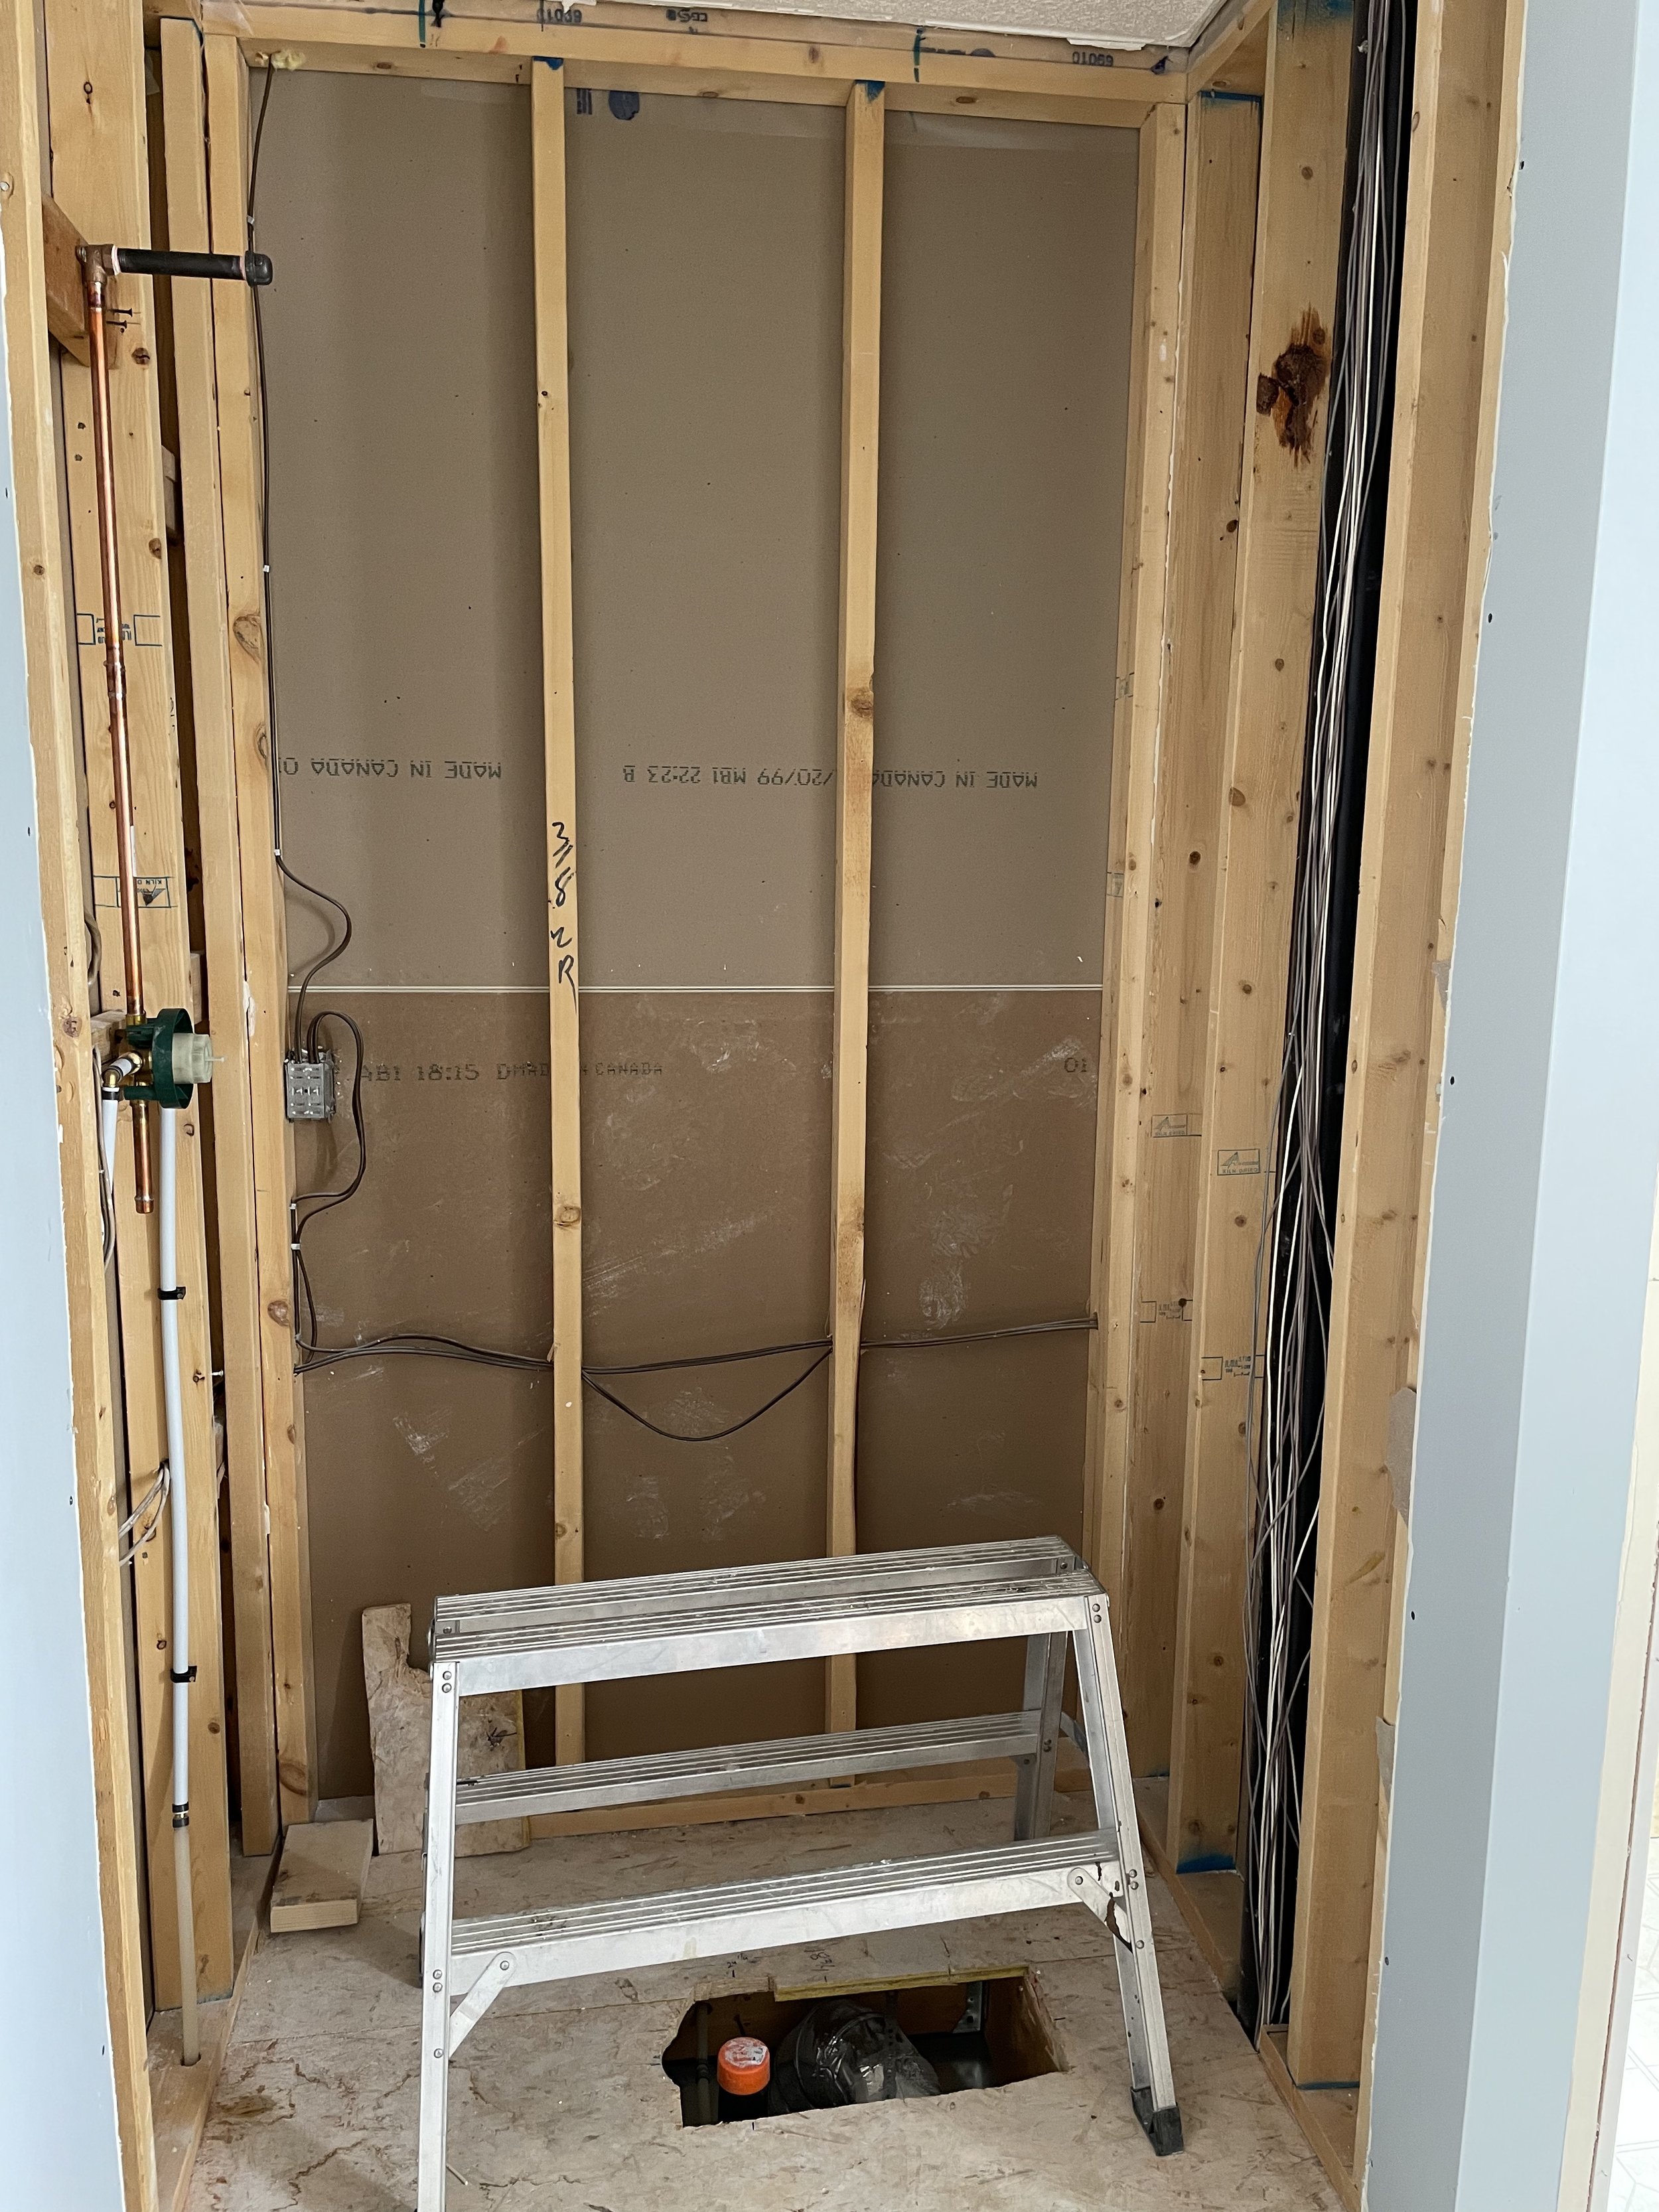
We discovered venting in the right hand wall of the shower, so we weren’t able to put a shower niche there, and I didn't want to have it on the back wall, breaking up the feature tile.

It’s always so cool seeing the process of tile install. Braedan with Precision Tile and Stone, here in High River, did an excellent job of the install. I picked the tiles so that the 24 inch vertical lay would have grout lines that lined up with every three of the 8 inch horizontal lay of the feature tile. I thought that the “chicklet” tiles would be too much wrapped all around the shower stall, so calmed it down with side walls done in a lighter version of the tiles we used downstairs on the fireplace and the wet bar, with our rebuild after the flood.
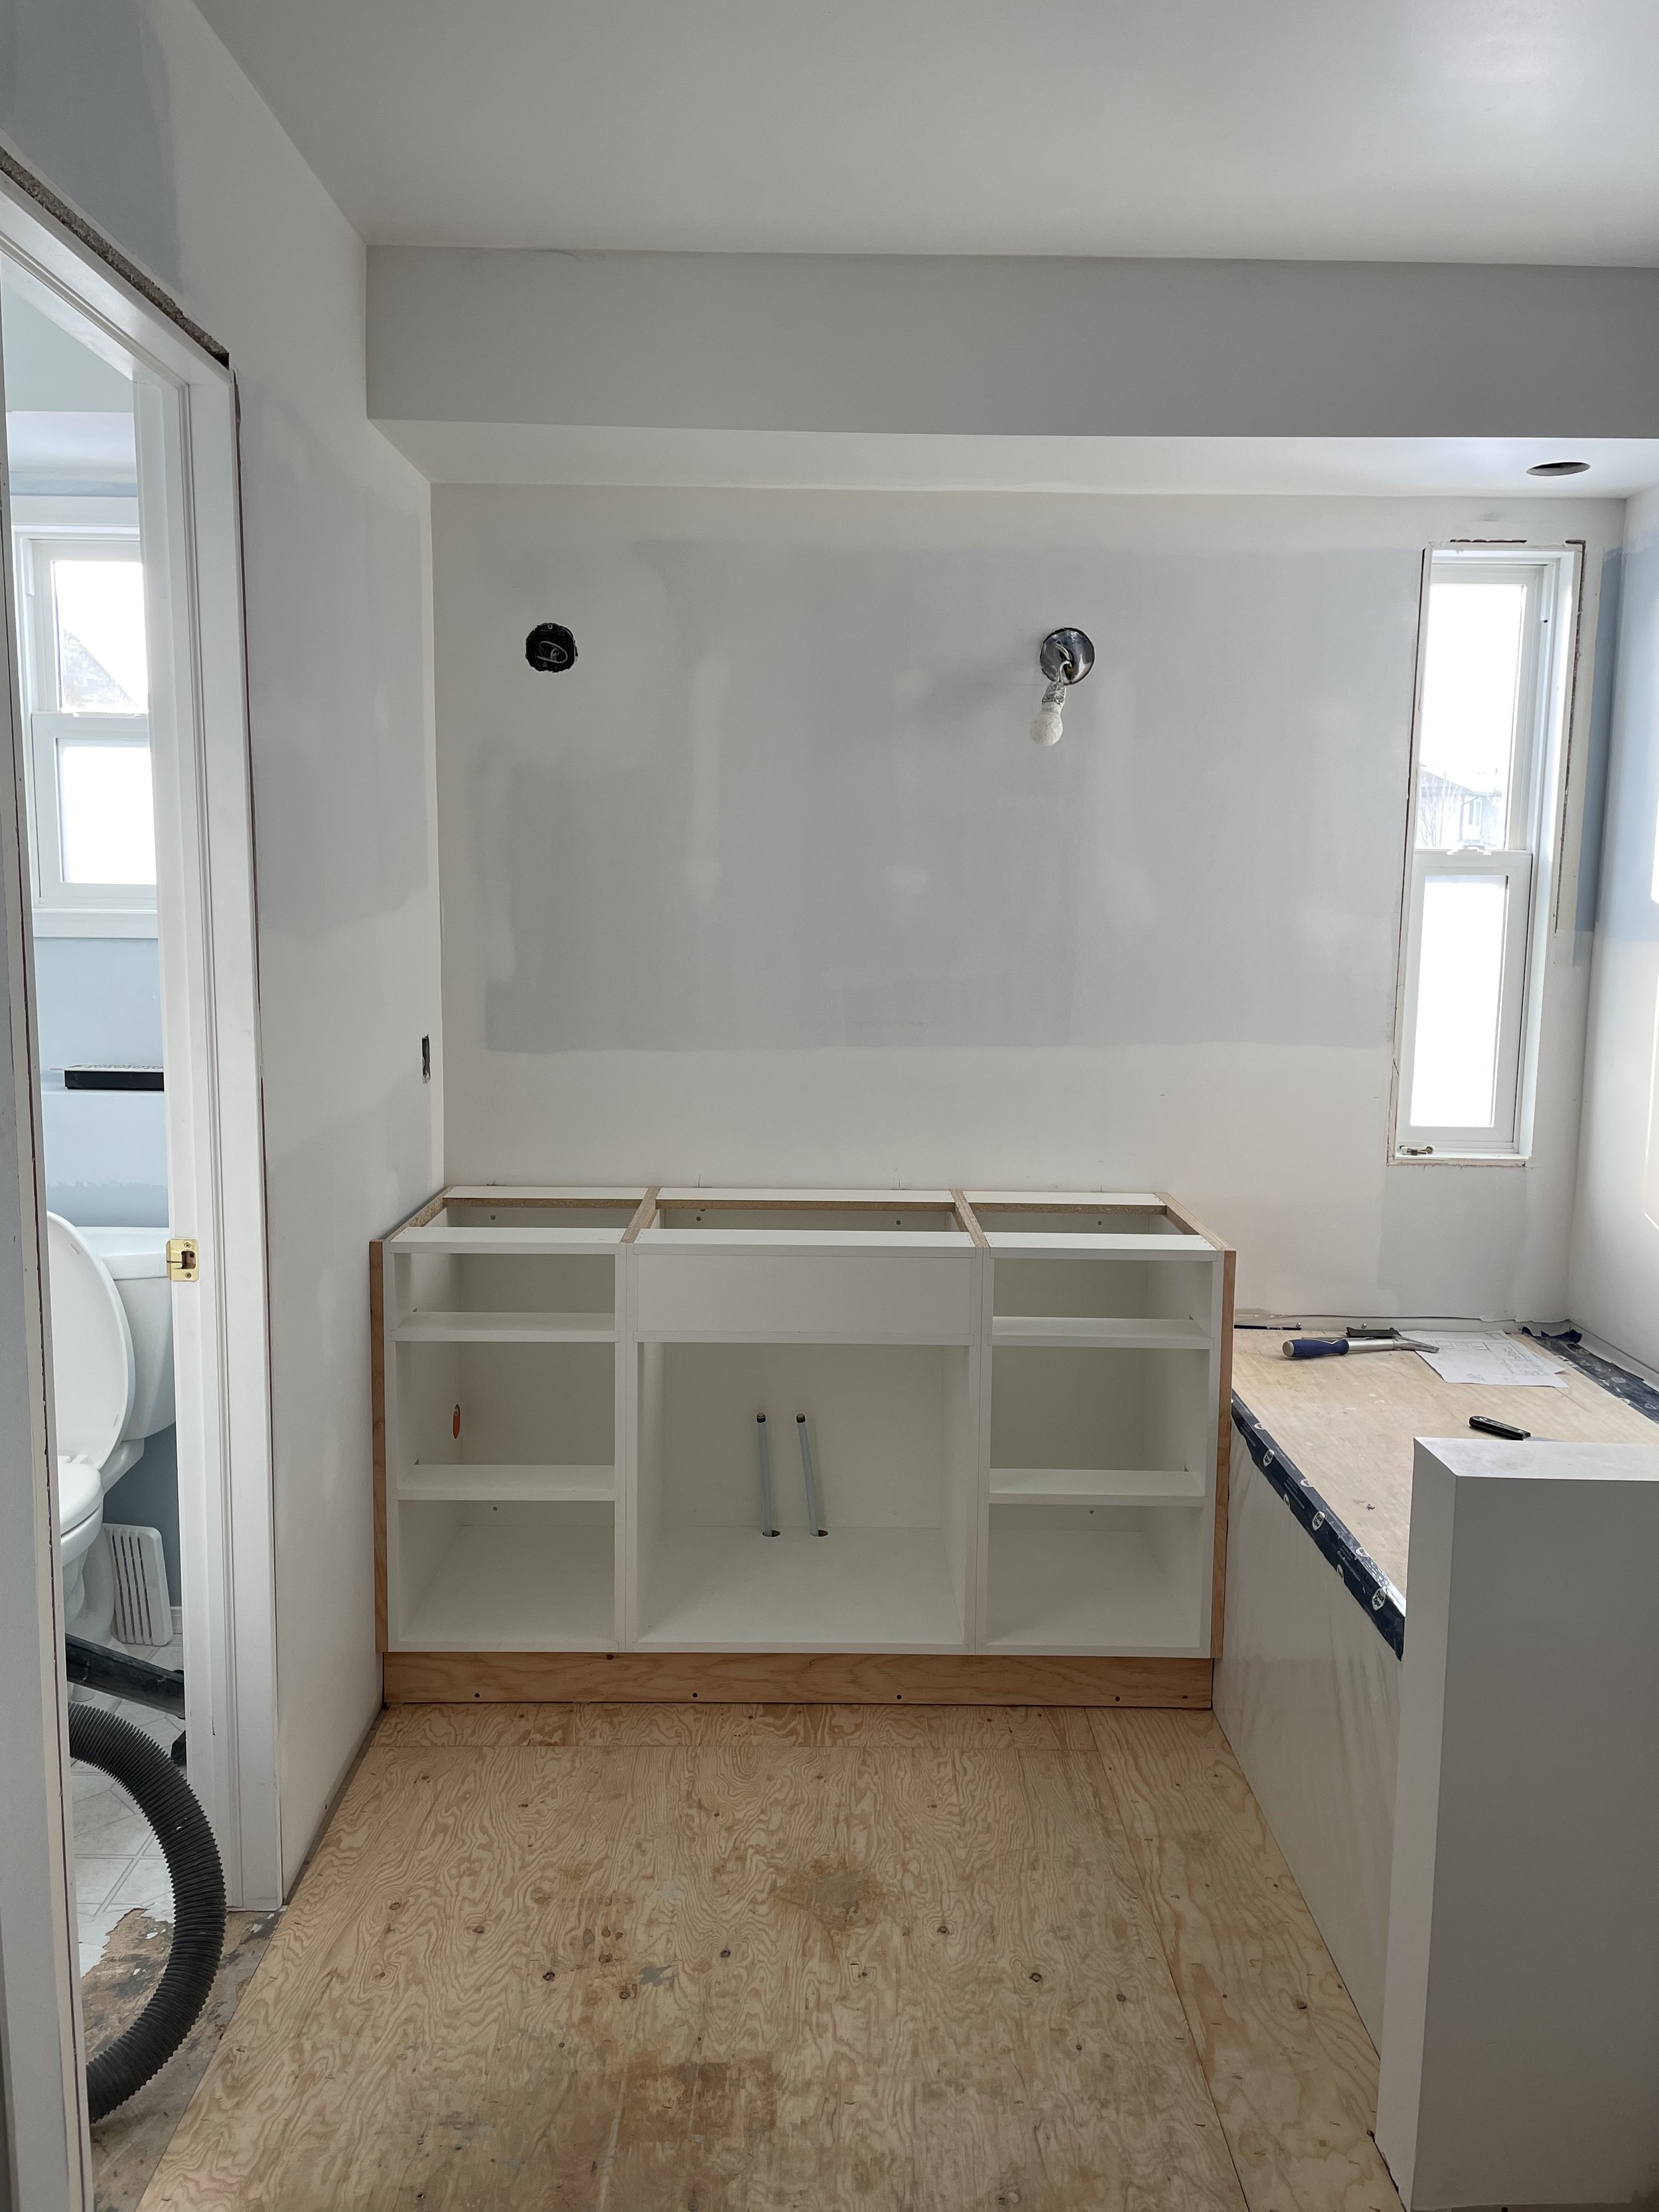
Here you can see the custom cabinets that have been installed. Another thing that you may notice is how well Landon has protected the tub, so it doesn’t get damaged. The tub going in first is a challenge, but it does enable all of the other elements to be fit exactly to the edge and upper deck, so that everything is seamless.

This is the mirror I was talking about, that was in this season of Rock the Block. Their bathroom is a completely different style, as it was a powder room, and it is in a brass finish, not black, but I was pretty thrilled to see it used on an HGTV show. I’ve seen it on a few other shows lately, too. Just goes to show it is really trending, and I’m happy that it is an element that I can easily change out, once the trend has waned. Please excuse the crappy picture that I took off of the TV…LOL.

Here is my finished vanity. I have a bit more counter space than Dave does (but not much), as I tend to have more pretty things to set out. I love the false front on my centre cabinet, and that my pulls are consistent throughout my upstairs. I have them in the main bath and the kitchen, as well.
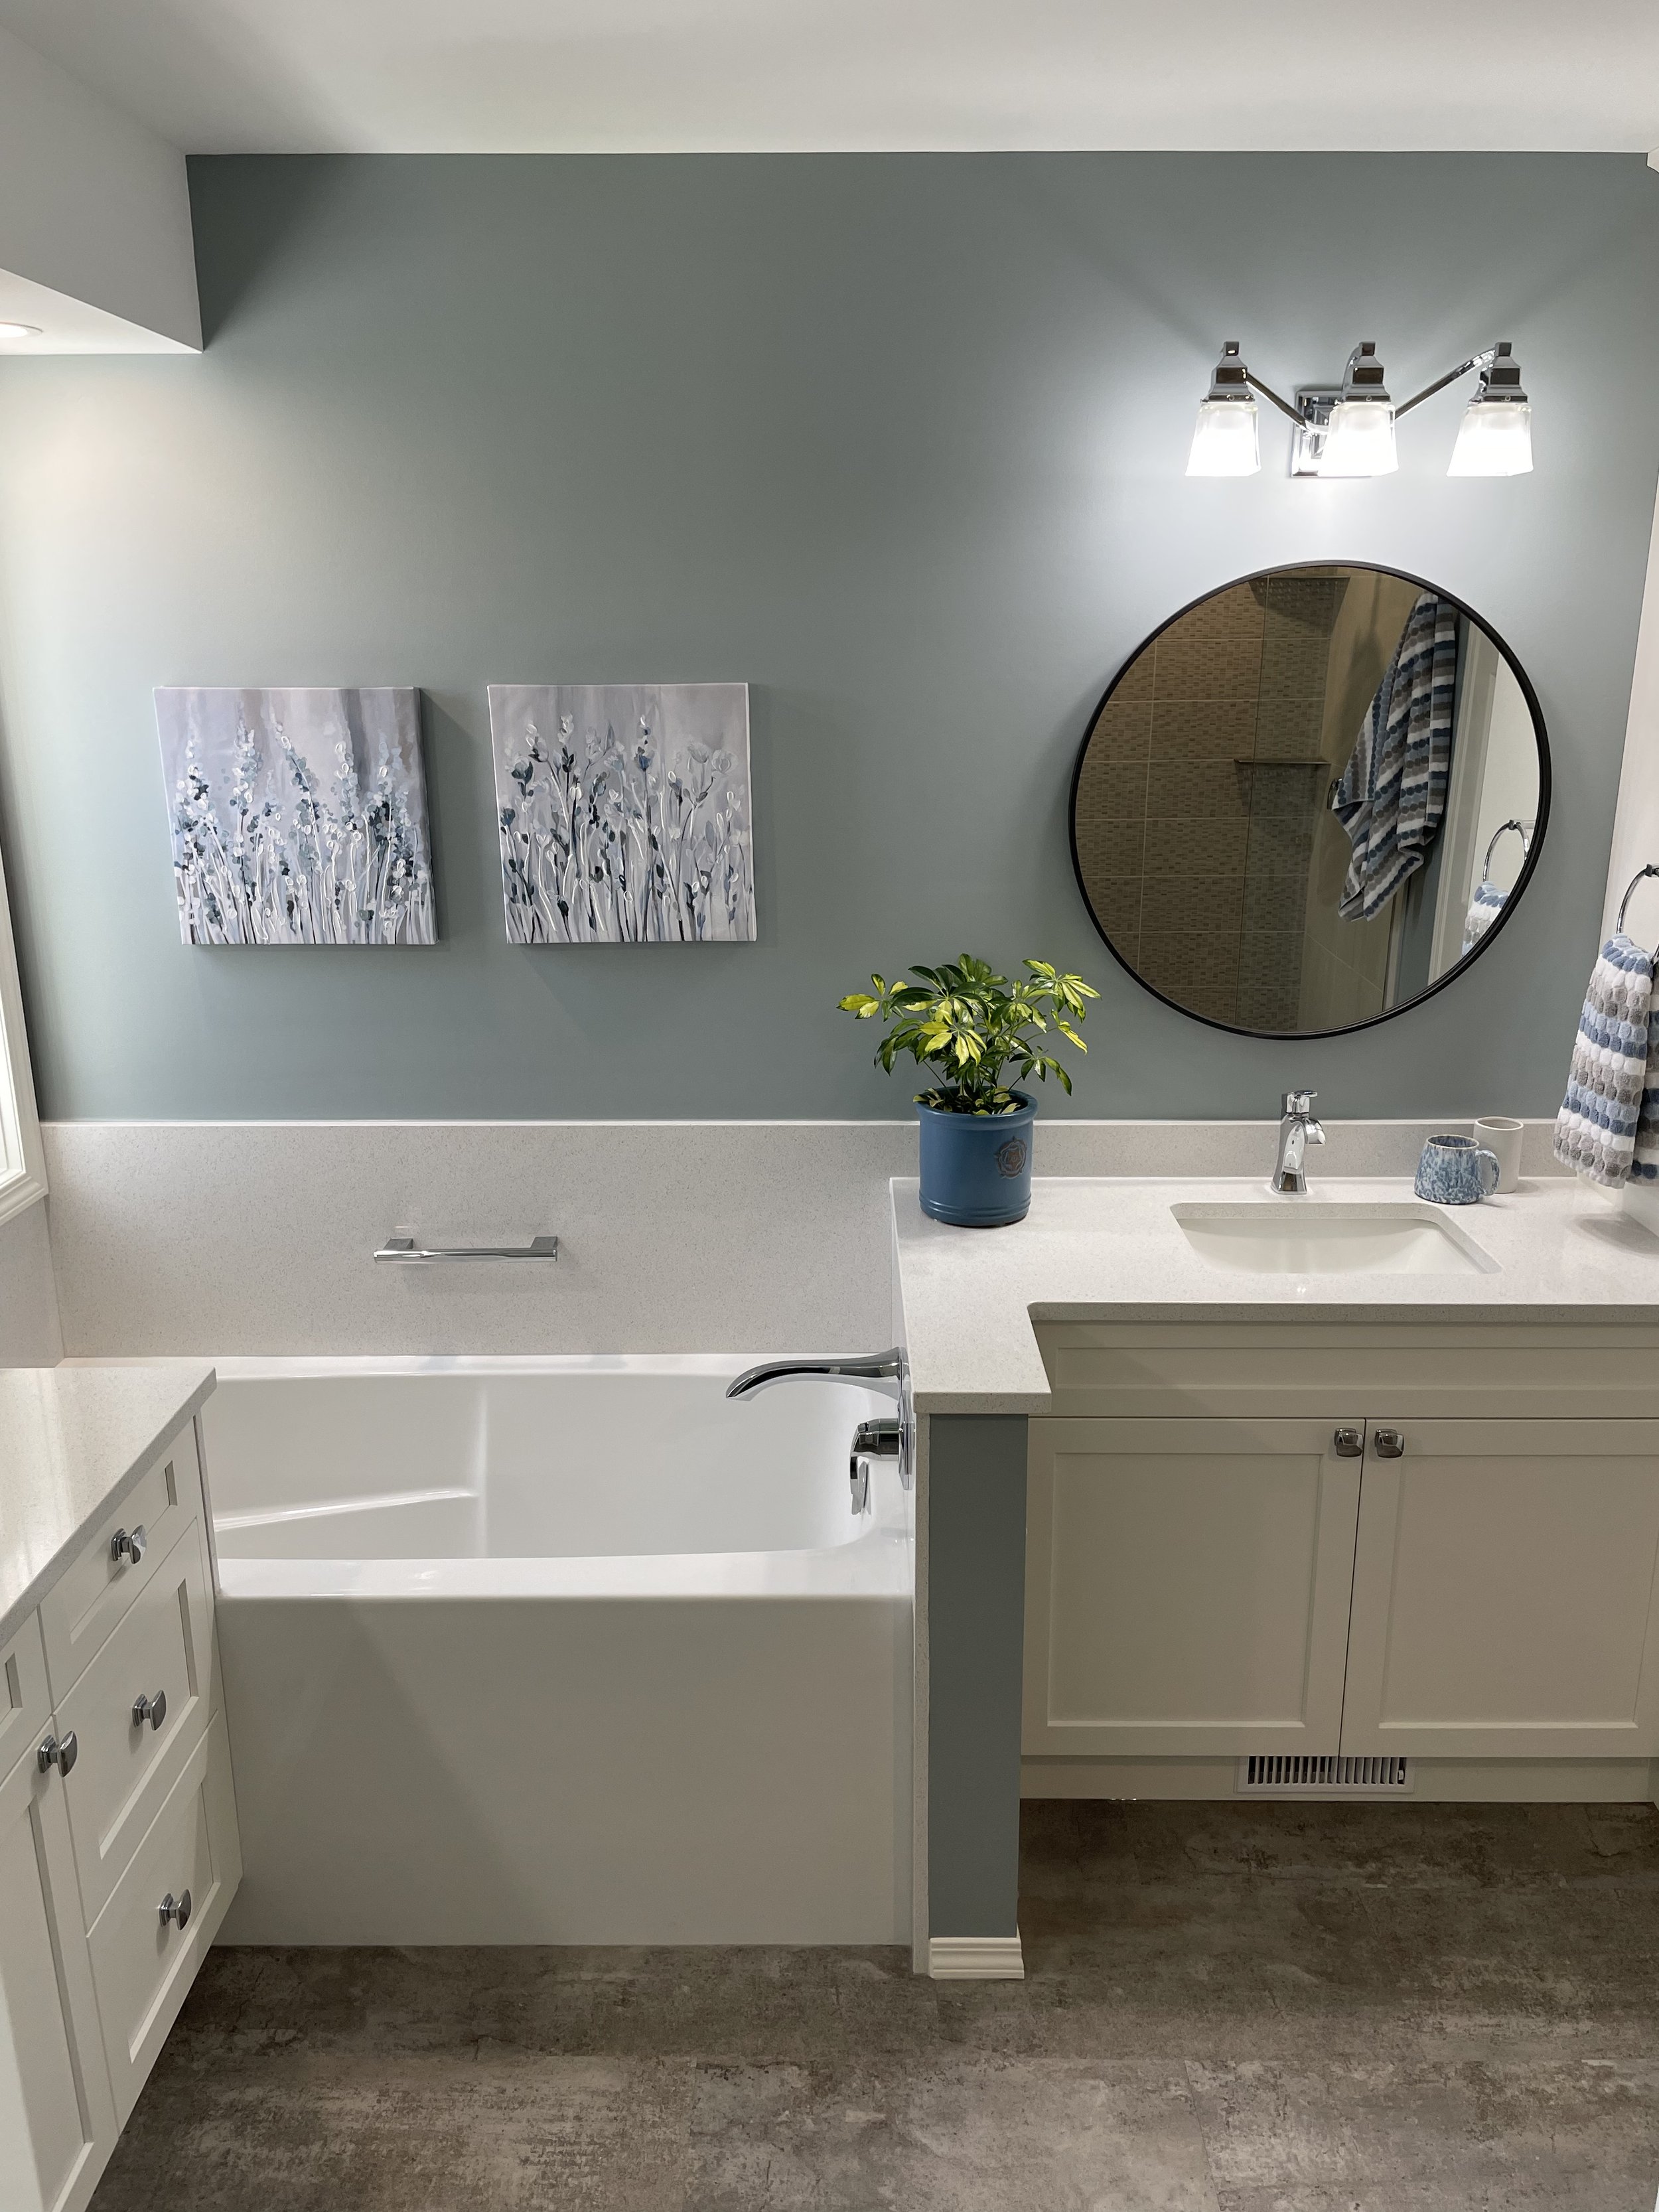
This shows how the pony wall separates the tub space from Dave’s vanity. I also added the grab bar (you know we aren’t getting any younger), but love how sleek it is. This shot shows how our LVT (luxury vinyl tile) warms up the space, as well. It feels fabulous underfoot.

We brought out the shower about six inches, so there is a little more elbow room in it. By adding the gooseneck mount on the rain shower head it creates a sense of more space, as well. The shelving was the option we went to, since I couldn’t put the niche where I originally wanted it to go.
Here are all of the company names, of my contractors, trades and fixtures, in case you see something that you like:
Construction
@landonelliscarpentry
Large black mirrors
@arcushome
Painters
@styluxpainting
Paint
@benjaminmoore Colour is Mount Saint Anne
Cabinetry
Wegener Cabinetry and Woodworking Ltd.
Plumbing
@stretchplumbing
Plumbing Fixtures
Plumbataria.com
Tub
@valley.acrylic
Grab bar
@LaLooaccessories
Sinks
@kohler
Facets etc
@moeninc
Tile Purchasing and Install
@painterscornerandflooring
Precision Tile and Stone
Tile Make and Colours
@olympiatile Spa Series in Sand
@euroceramictile Papyrus in Pearl
@ceratec_surfaces Pietra Moda in Beige
Flooring
@cascadeluxuryvinyl Creative Options in Grey
Lights
@homedepotcanada Hampton Bay Lighting
@calgaryrestore
Knobs
@hickoryhardware
Towel rings
@homedepotcanada Stature Fixtures
Hooks
@americanstandardca
Small white mirrors
@bonnyco_
Shower Enclosure
@okotoksglass
Electrical
Ace Electric
I also came across this great article, if you wanted to read more about bathroom renovations, and things you might want to avoid.
CALL NOW, FOR YOUR COMPLIMENTARY PHONE CONSULTATION